August 2012
Quick & Easy Summer Breakfast
I ran across a recipe similar to this just yesterday and had to give it a try immediately. I am a big breakfast fan and this easy little something is filling, good for you and deeee-licious!
Here is my version:
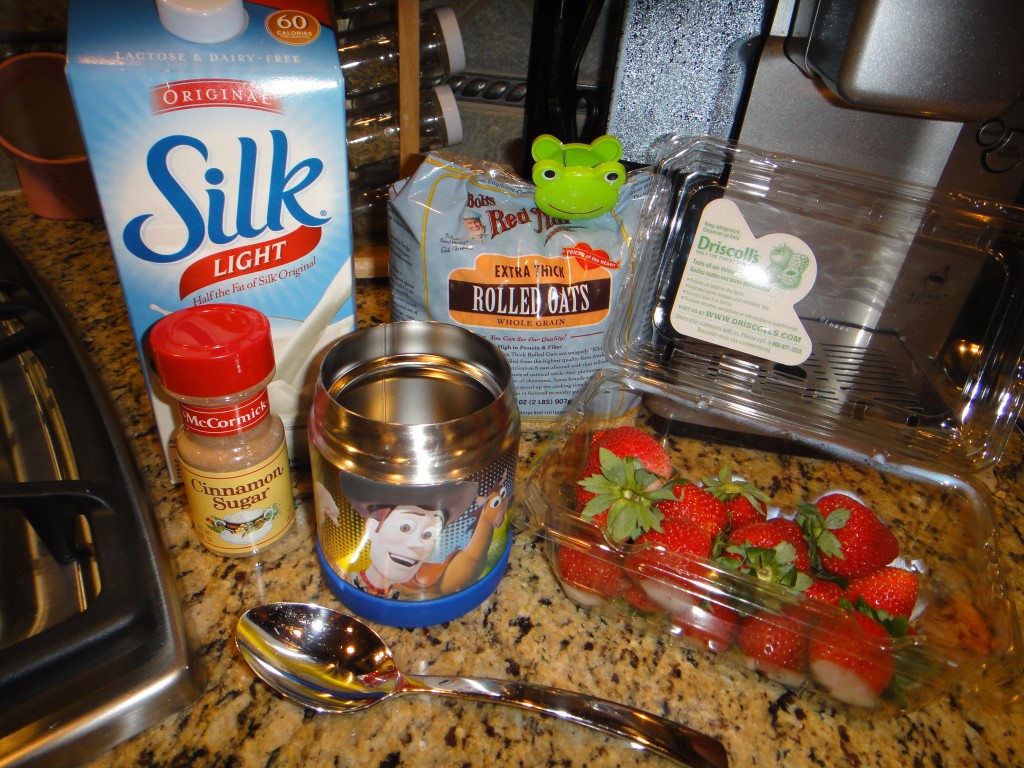
1/2 cup Rolled Oats
2/3 cup Silk soy milk (light) (or almond milk, or vanilla flavored organic milk…)
1/2 cup vanilla yogurt (or greek, or non-fat…)
a few sprinkles of Cinnamon Sugar mixture (or cinnamon, or brown sugar…)
Strawberries (or raspberries, blueberries, sliced banana, or honey…)
*UPDATE from 8.1.12*
1/2 scoop Vanilla protein powder (scoop comes in container)
You can truly make this recipe your own!
I used one of my boys’ Thermos brand cold/hot food storage containers, but I think any air tight container would be fine.
Add 1/2 cup of oats, 2/3 cup of silk, 1/2 cup of vanilla yogurt, 1/2 scoop of vanilla protein powder and a few dashes of cinnamon sugar and stir thoroughly. Put your container of oatmeal soy milk mixture in the refrigerator overnight. Yes, refrigerate it! Sounds weird, but please give it a try! When breakfast rolls around, pull it out of the fridge, add a few more dashes of cinnamon sugar and stir well. Throw your fruit on top and dig in! Cool, healthy and really tasty. This is coming from a girl who has never ever been a fan of oatmeal. Ever. I had it this morning and prepped my breakfast for tomorrow just a few minutes ago!
Update from 8.1.12 ~ I bought a large tub of vanilla protein powder at Target the other day and experimented with it, finding that a whole scoop made my oatmeal a bit too thick for my liking, but half a scoop was just perfect – amping up the vanilla flavor and giving me a smidge more protein to keep me full through the morning.
NOVEMBER 2011
I’m having my second annual tree decorating party in a few days and am making this chicken chili recipe for all of my lady friends to enjoy before we get to work ~ It’s a 15 foot tree, yes – it’s hard work! I posted it in the regular blog in October 2010, but I’ll put it here, to for easy reference! It is a recipe, after all.
2 Bean chicken chili
Ingredients:
2 cups chicken broth
1 jar (16 oz) thick and chunky mild salsa
1 cup tomato sauce
1 medium zucchini coarsely chopped (about 1 1/4 cups)
1 1/2 cups black beans
1 1/2 cups pinto beans
1 cup whole kernel corn, drained
3 cups shredded cooked chicken
1 clove garlic, presed
1 1/2 – 2 tbsp chili powder
1 tsp ground cumin
Optional toppings such as shredded cheese, sour cream, crushed tortilla chips, sliced green onions or fresh cilantro leaves
Directions:
1) Combine chicken broth, salsa and tomato sauce in a 4-qt. casserole dish. Add zucchini, beans, corn, chicken, garlic, chili powder and cumin. Bring to a boil; reduce hear and simmer 30 minutes.
2) Ladle chili into soup bowls and top with desired toppings.
Yield: 6 servings (10 cups)
Nutrients per serving:
1 2/3 cups: Calories 290, Total Fat 7g, Saturated Fat 1.5g, Cholesterol 60mg, Carbohydrate 29g, Protein 29g, Sodium 1740 mg, Fiber 8g
Enjoy!! I’ll be sure to take some pictures at the event and post pictures of the chili soon!
OCTOBER 2011
Ah-MAZING pumpkin pie! And it’s easy, too!
Last Friday during naptime I was flipping through a new magazine I had picked up at the grocery store and I came across a short and sweet recipe for pumpkin pie. I’ve never really been a fan of this type of pie, but my husband loves it and I love him so I thought it would be a nice “happy weekend” surprise for him. I went through the pantry really quickly before waking the kids up and found that I was only missing two ingredients (ground ginger and crunchy granola bars, if you care for the specifics). After a diaper change for the littles and a quick snack we ran back to the store for my missing pieces and came home to pumpkin pie central. Here is the recipe I used (thanks, Rachel Ray!!!). After I made my husband tell me if it was dee-licious I tried it, too, and most definitely agreed with him! Double score! We deemed it worthy of our Thanksgiving Day feast, so I’m totally pumped to share it with you and let you see for yourself.
Granola-Crusted Pumpkin Pie
Serves 10 Prep 35 minutes Bake 45 minutes
Ingredients
1 box (8.9 ounces) crunchy granola bars, broken into chunks
1/4 cup plus 2 tablespoons packed light brown sugar
2 tablespoons unsalted butter, melted and cooled
3 eggs, lightly beaten, plus 1 egg white
1 can (15 ounces) pumpkin puree
3/4 cup heavy cream
1/2 cup pure maple syrup
1 teaspoon ground cinnamon
1/2 teaspoon ground ginger
1/4 teaspoon salt
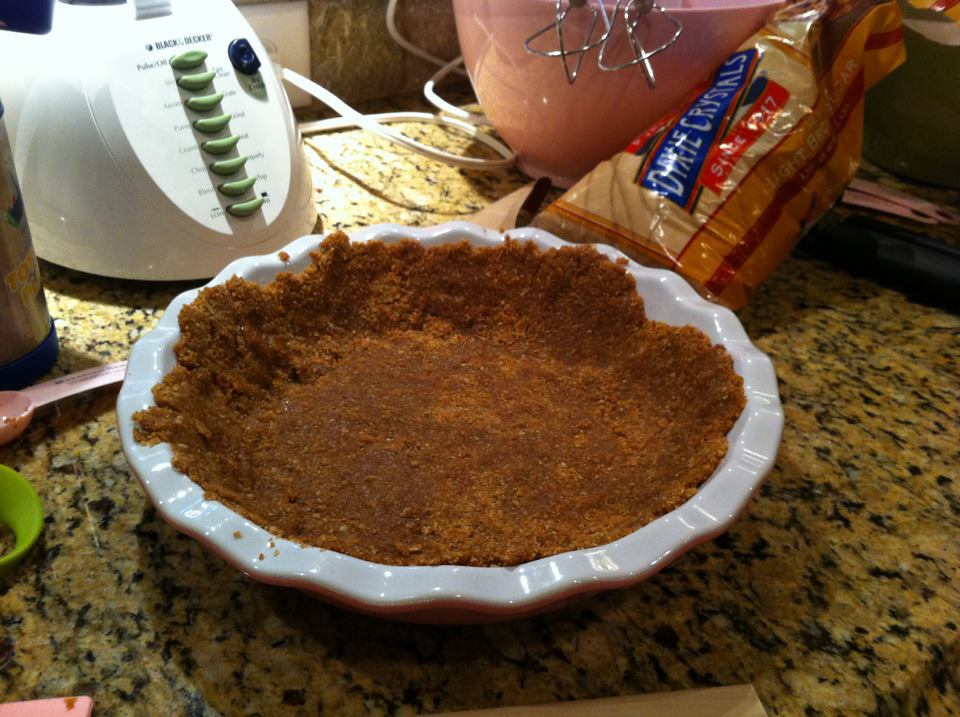
1. Position rack in the center of the oven and preheat to 350 degrees. Grease a 9-inch deep-dish pie pan. Using a food processor, grind the granola bars with 2 teaspoons brown sugar. Add the butter and egg white and pulse until the crumbs are moistened. Pat the mixture evenly onto the bottom and up the sides of the prepared pan. Bake until the edge is crisp and lightly browned, 15 to 20 minutes.
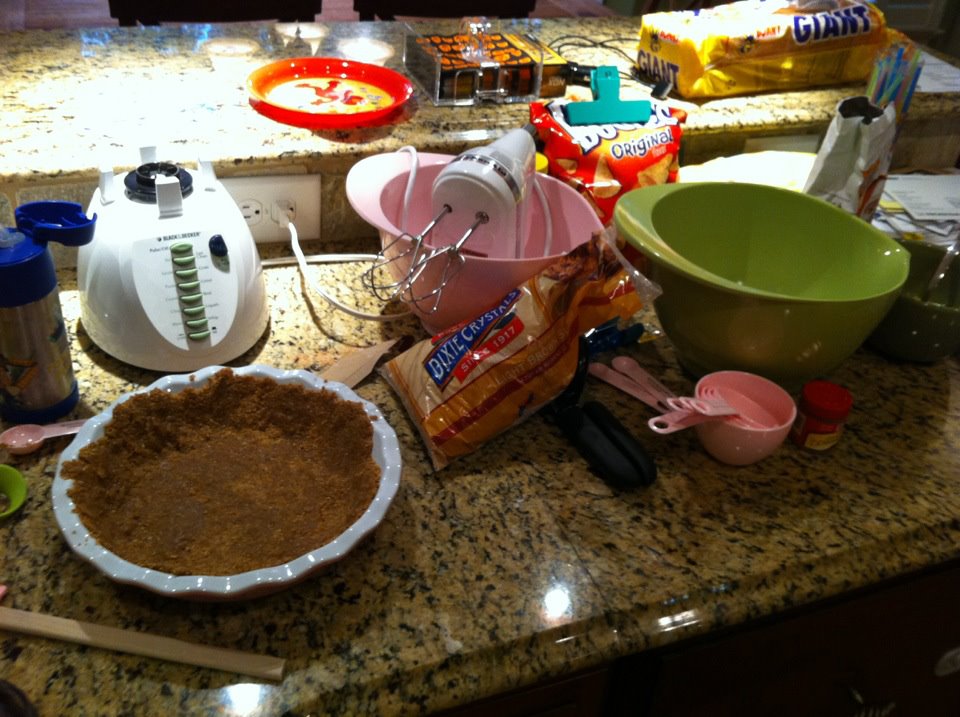
*side note: I do not have a food processor, so I used our blender to grind the crumbs and make the pie crust. It worked just fine!*
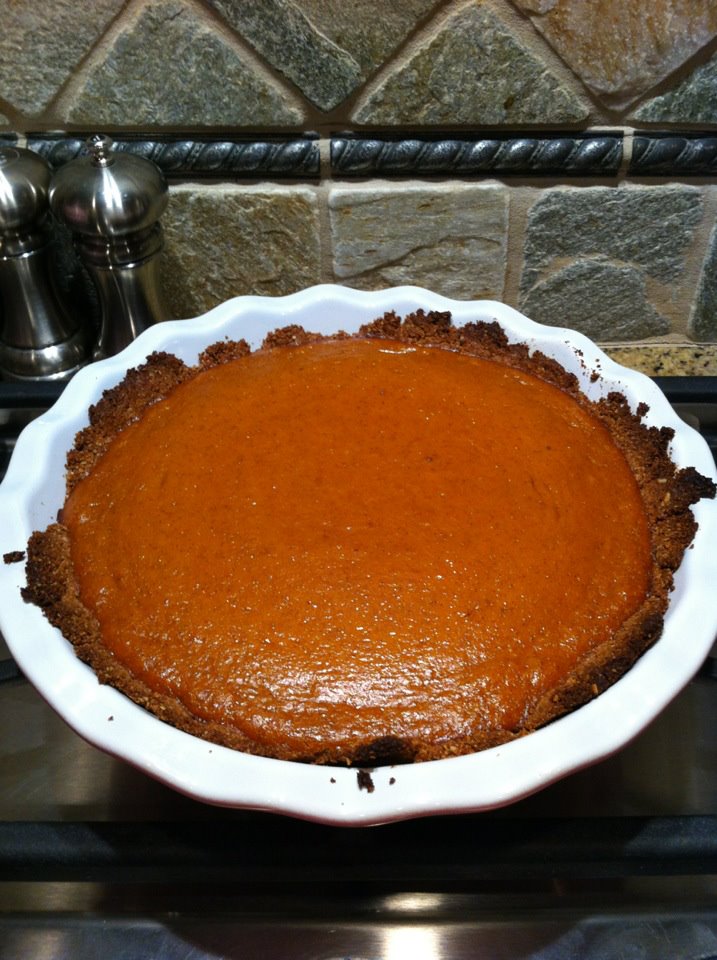
2. In a large bowl, whisk together the remaining 1/4 cup brown sugar, the pumpkin puree, eggs, cream, maple syrup, cinnamon, ginger and salt. Pour into piecrust. Bake until the pie center is almost set, about 45 minutes. Transfer to a rack to cool completely.
Yum yum, y’all! Enjoy!
Our pie station
the crust after baking
and VOILA!
OCTOBER 2010
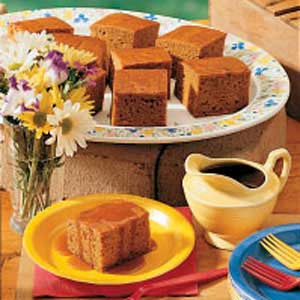
Pumpkin Squares with Optional Cider Caramel Sauce
Ingredients for the pumpkin squares:
1 cup sugar
1 ½ cup flour
1 ½ teaspoons baking powder
1 ½ teaspoons baking soda
1 ½ teaspoons cinnamon or pumpkin pie spice
½ teaspoon salt
¾ cup vegetable oil
1 (15 ounce) can of pumpkin
2 eggs, lightly beaten
Ingredients for the cider caramel sauce:
½ cup brown sugar, packed
1 tablespoon cornstarch
2/3 cup apple cider
2 tablespoons heavy cream
1 tablespoon butter
Salt to taste
Step 1
Heat the oven to 325 degrees. Grease a 9×13 inch pan and set it aside.
Step 2
In a large mixing bowl, combine the first six ingredients. Add the oil, pumpkin, and eggs and whisk until the batter is evenly blended. Pour the batter into the prepared pan and smooth the top.
Step 3
Bake the cake until a toothpick inserted in the center comes out clean, about 30 minutes. Remove the pan and allow it to cool completely on a wire rack.
Step 4
Just before serving the cake squares, make the cider caramel sauce. In a medium saucepan, whisk together the brown sugar and cornstarch. Add the cider and stir well to dissolve the other ingredients. Cook the mixture over medium-high heat, whisking constantly until large bubbles form around the perimeter of the pan, about 3 minutes. Reduce the heat to low and allow the sauce to continue to simmer until it thickens, about 2 minutes more.
Step 5
Remove the sauce from heat and whisk in the cream and butter. Let the sauce cool slightly, then taste it and add a pinch of salt, if necessary.
Step 6
To serve the dessert, cut the baked cake into 3-inch squares and top each with a scoop of ice cream, if you like, and a drizzle of warm cider caramel sauce. Makes approx. 12 squares and about a cup of sauce.
*Note: One batch will fill one 9×13 inch pan or three 8×3 7/8 loaf pans. When using loaf pans, cooking time is 35-38 minutes – use toothpick to check center of loaf.
DECEMBER 23, 2011
Not sure where this originated from, but it has been my husband’s go-to recipe for several years now and I’m going to share it with y’all, you lucky people *wink wink*
Marshmallow Yam Souffle
Ingredients:
40 ounce can cut yams
1/2 cup brown sugar
1/4 teaspoon salt
1/2 teaspoon cinnamon
1 egg
4 tablespoons melted butter (plus a smidge for the baking dish)
1 bag (16 ounces) mini marshmallows
Directions:
1) Butter 1 quart baking dish
2) Heat oven to 350 degrees
3) Mash drained yams in a large bowl and add brown sugar, salt, cinnamon, egg and melted butter and mix well
4) Place 1/2 of mixture in baking dish, add 1/2 of marshmallows and top with remaining yam mixture
5) Bake for 30 minutes
6) Remove from oven and add remaining marshmallows
7) Bake for an additional 10 minutes until lightly brown
I’m making this dish in just a few hours and will post pictures soon!
Enjoy!
